
Navigate to “Key Management” under the “Access & Security” section.
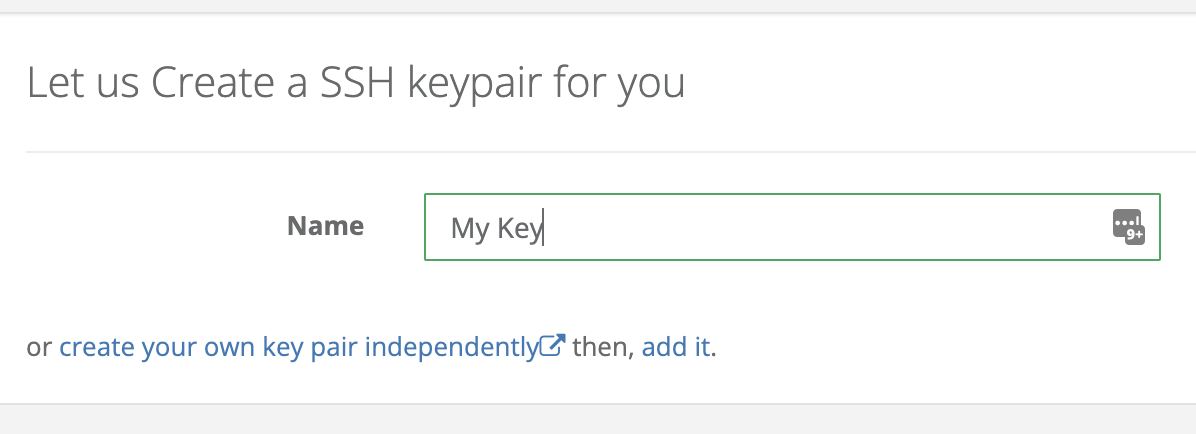
If you have an SSH key or even multiple ssh keys already you can simply hit the “Add” button. Give the key a name, and then paste your existing public key into the field. SSH keys always start with ssh-rsa and are then followed by a long series of characters. At this point you can also add the private key, but this is optional.


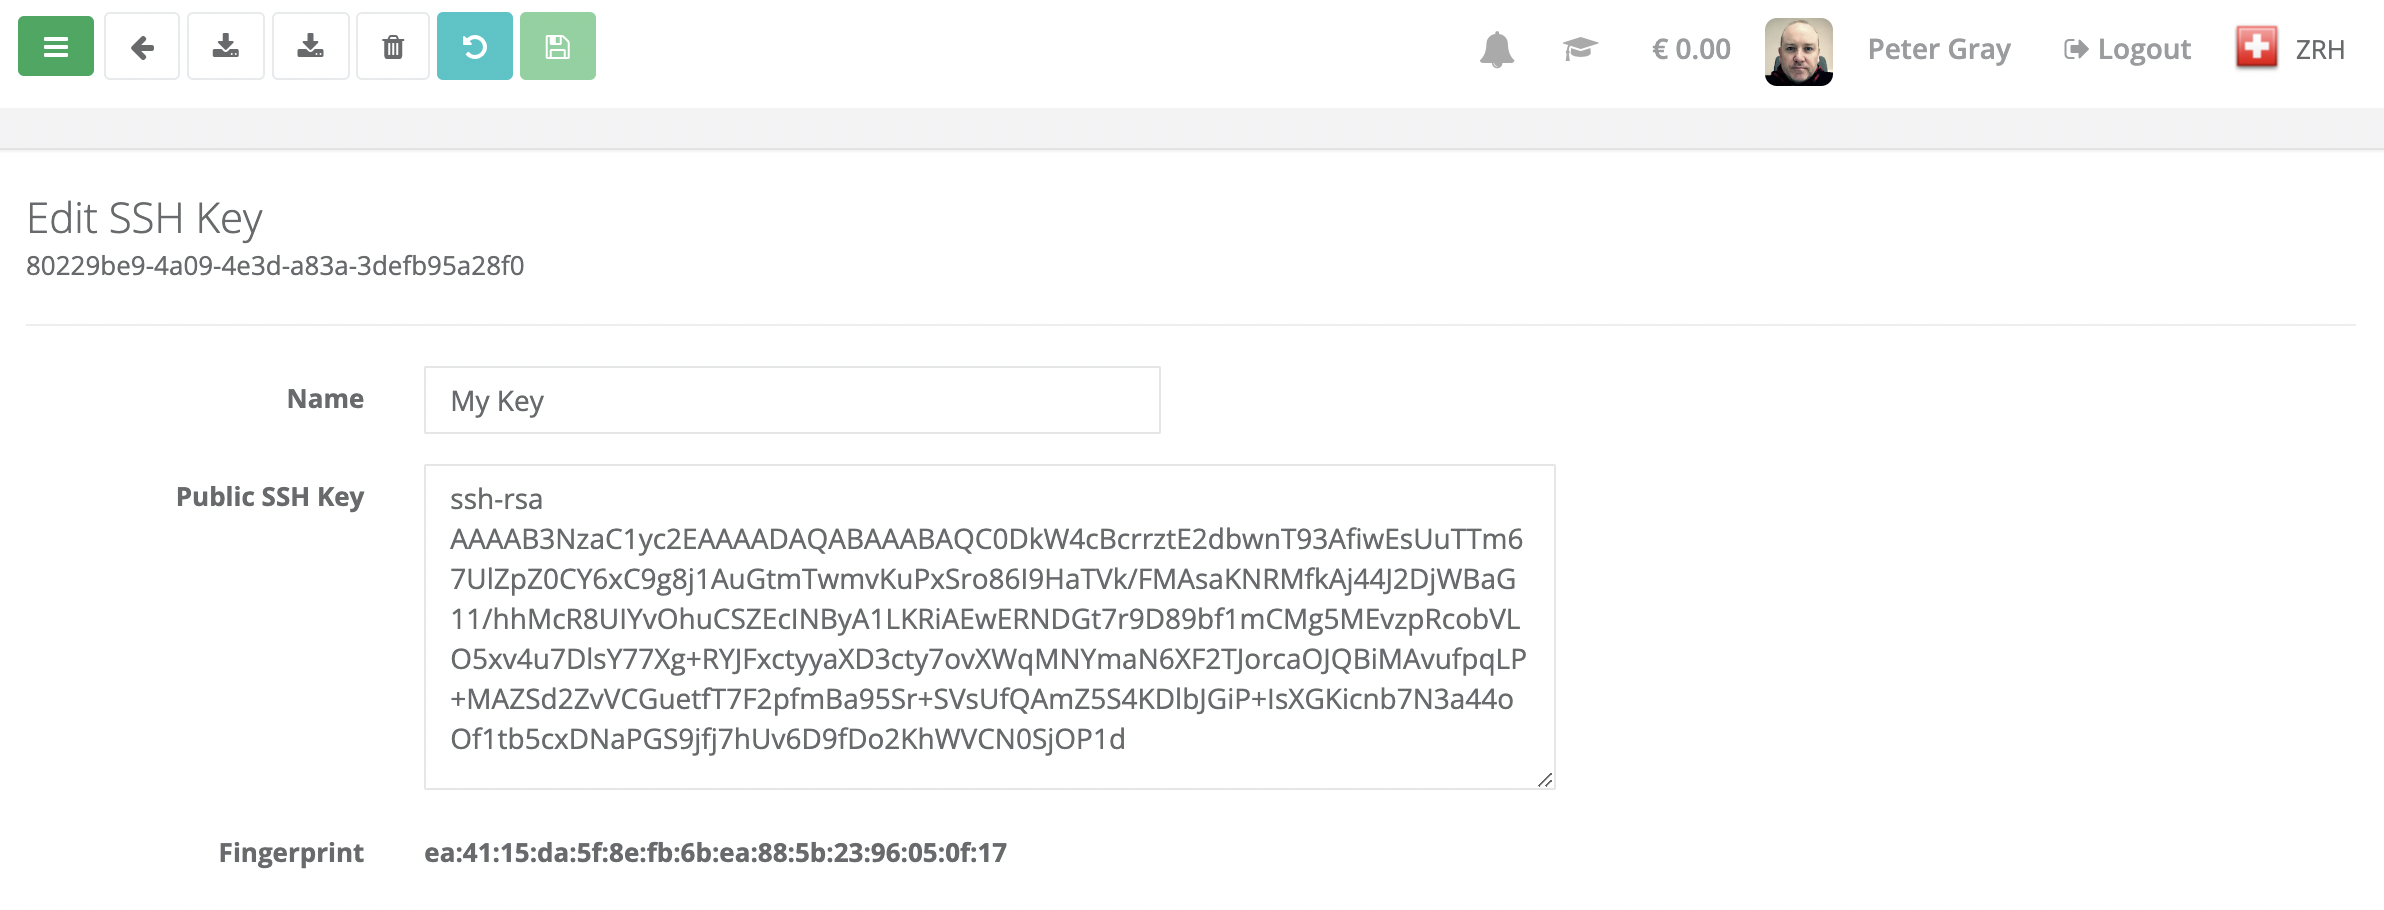
You can download the private key and the public key with the buttons at the top. You can create as many keys as you need and of course, you can remove keys you don’t need.
If we hadn’t created the key earlier, we can actually generate or add a new key using the buttons on the right. Either way, it is a very simple process.
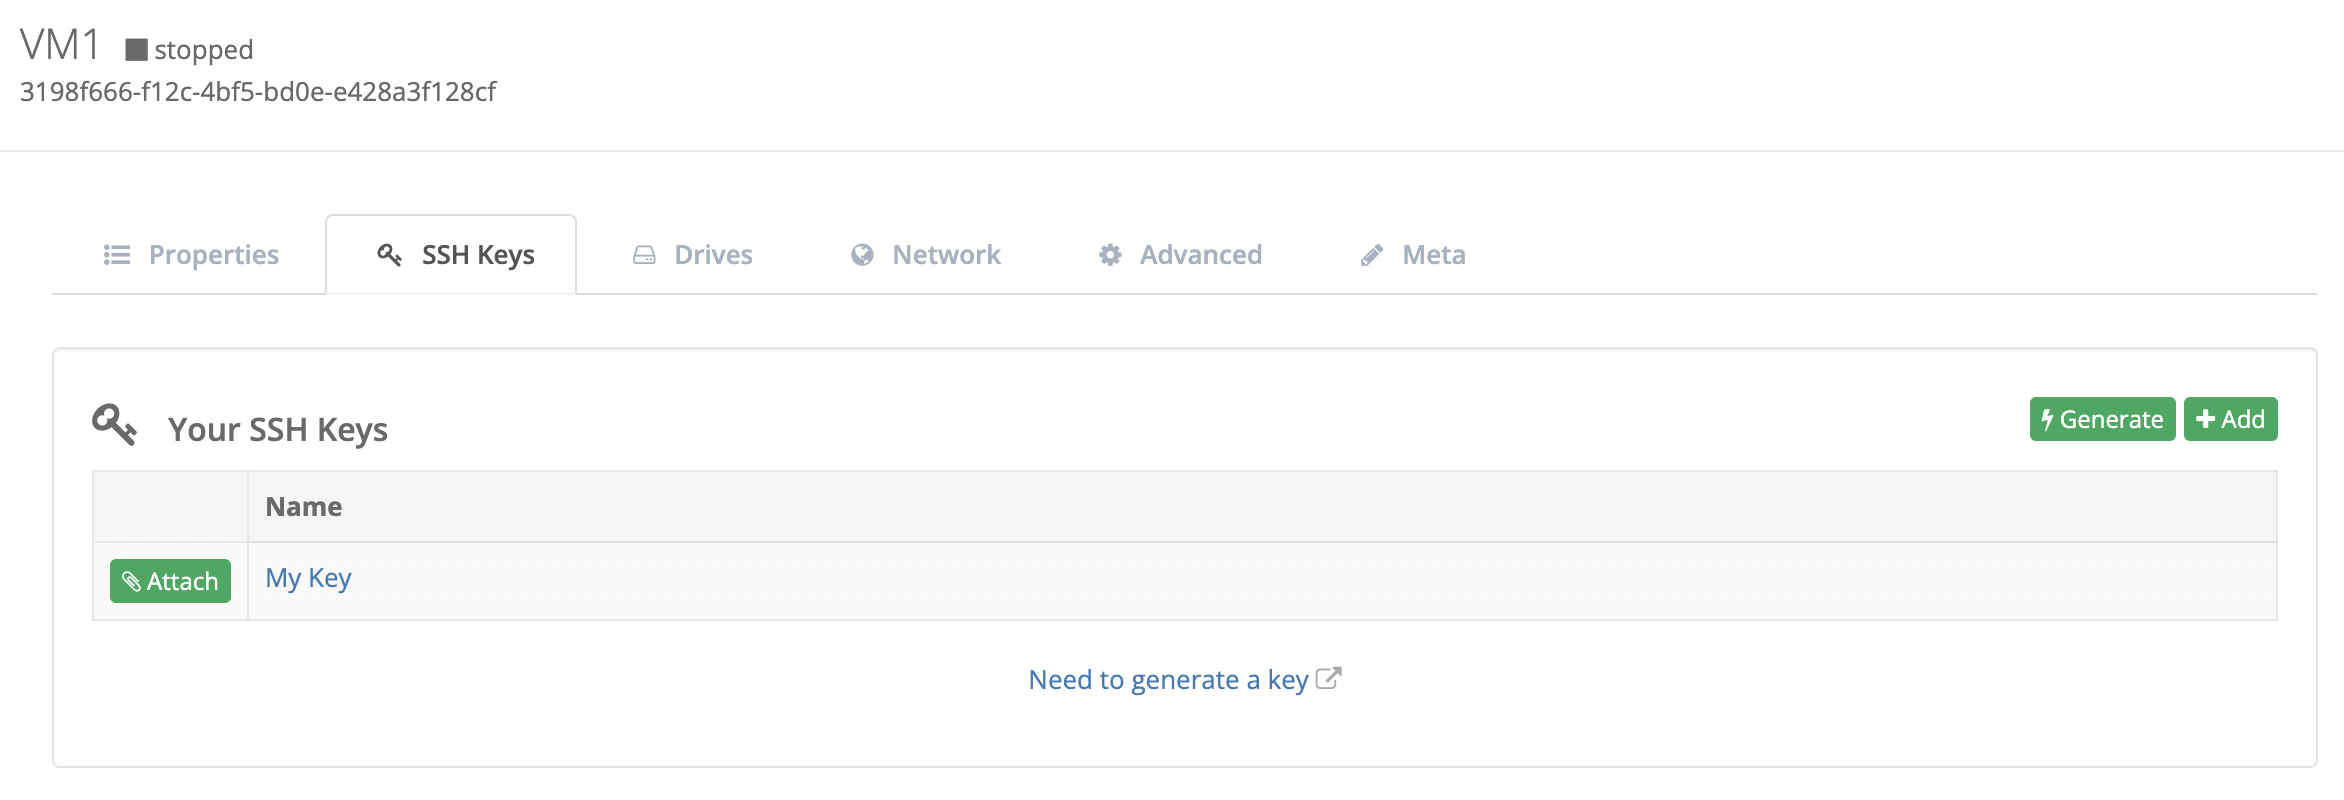
It’s important to note that adding an SSH key disables password access allowing us to SSH into the new server in a secure way. You can also add multiple SSH keys to a VM, which is useful when you have a team of people working on a particular VM.

