This feature enables users to create point-in-time snapshots of their drives, which can later be cloned and upgraded to create full stand-alone drives. A snapshot can be created on-demand while the server is running with absolutely no degradation to performance or availability. Snapshots can be used as protection against data corruption, for auditing purposes, or to create recovery points before system upgrades. Customers can also create custom snapshot policies which include automated snapshot frequency and retention parameters. Pricing is simply determined by the underlying storage size occupied by each snapshot meaning end users only pay for the delta (i.e. the difference between the snapshot and the source drive) over time. Unlike cloning a drive, snapshots can be created while the server is running.
This tutorial will concentrate on creating a snapshot, promote a snapshot to a full drive, and to delete an unwanted snapshot.
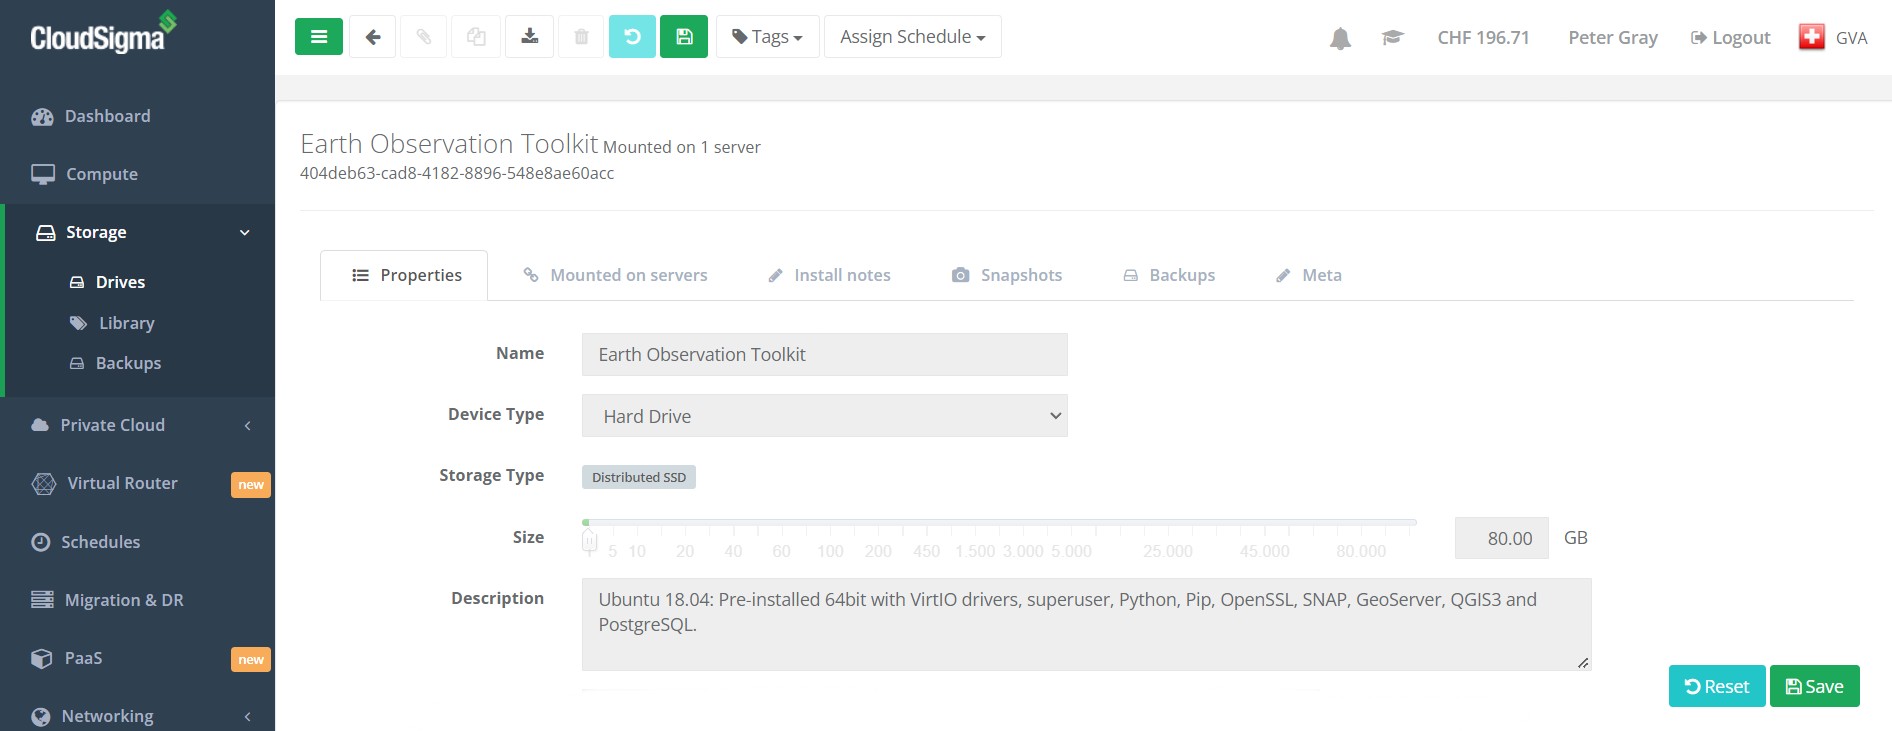
Step 1: Selecting a drive to snapshot
First you will need to select the drive you wish to snapshot. If you know the name of the drive then you can simply go directly to the Drive page and select the drive you wish to snapshot. If you don’t know the drive name, then you can go to the Compute page, select the server with the attached drive, click the Drive tab and select the drive from there.

Step 2: Create new snapshot
Once you’re in the drive, click on the ‘Snapshot’ tab, give the snapshot a name, and click Create New. The snapshot will be immediately created and will appear with options to:
- promote snapshot to be a full drive in your account
- rename the snapshot
- delete the snapshot.

Step 3: Promote snapshot to full drive
If you want to create a backup of the system then click the blue ‘promote snapshot to full drive’ button. The drive will be cloned and will appear in the list of drives with the name you have given it. You can then go into the cloned drive and rename it to something more appropriate if required.

The new drive can be used as a backup drive in case of data corruption or accidental deletion, or it can be attached to a VM and used as a duplicate.
Advanced Snapshot Management
The advanced snapshot management feature allows customers to create snapshot management policies and apply them to one or more drives. This essentially allows customers to automate the snapshot process. For example, an end user could create a policy that backs up every hour and retains the last 48 recovery points (i.e. 2 days of incremental backups). Users can create multiple policies to allow different system requirements and data management policies to be maintained within their cloud infrastructure. The cloud billing system allows the purchase of backup/archive capacity alongside mainline compute storage, in order to manage archive storage purchasing requirements. The system includes the ability to recover back any restore point from a drive to the primary storage medium.
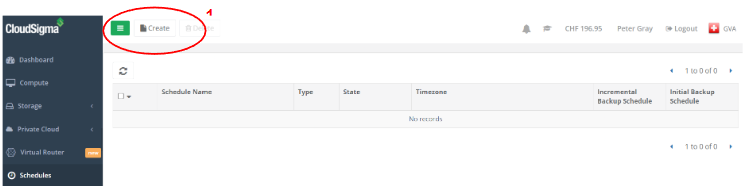
Step 1: Create new schedule
Navigate to the Schedules page and click the ‘Create’ button to create a new Schedule.
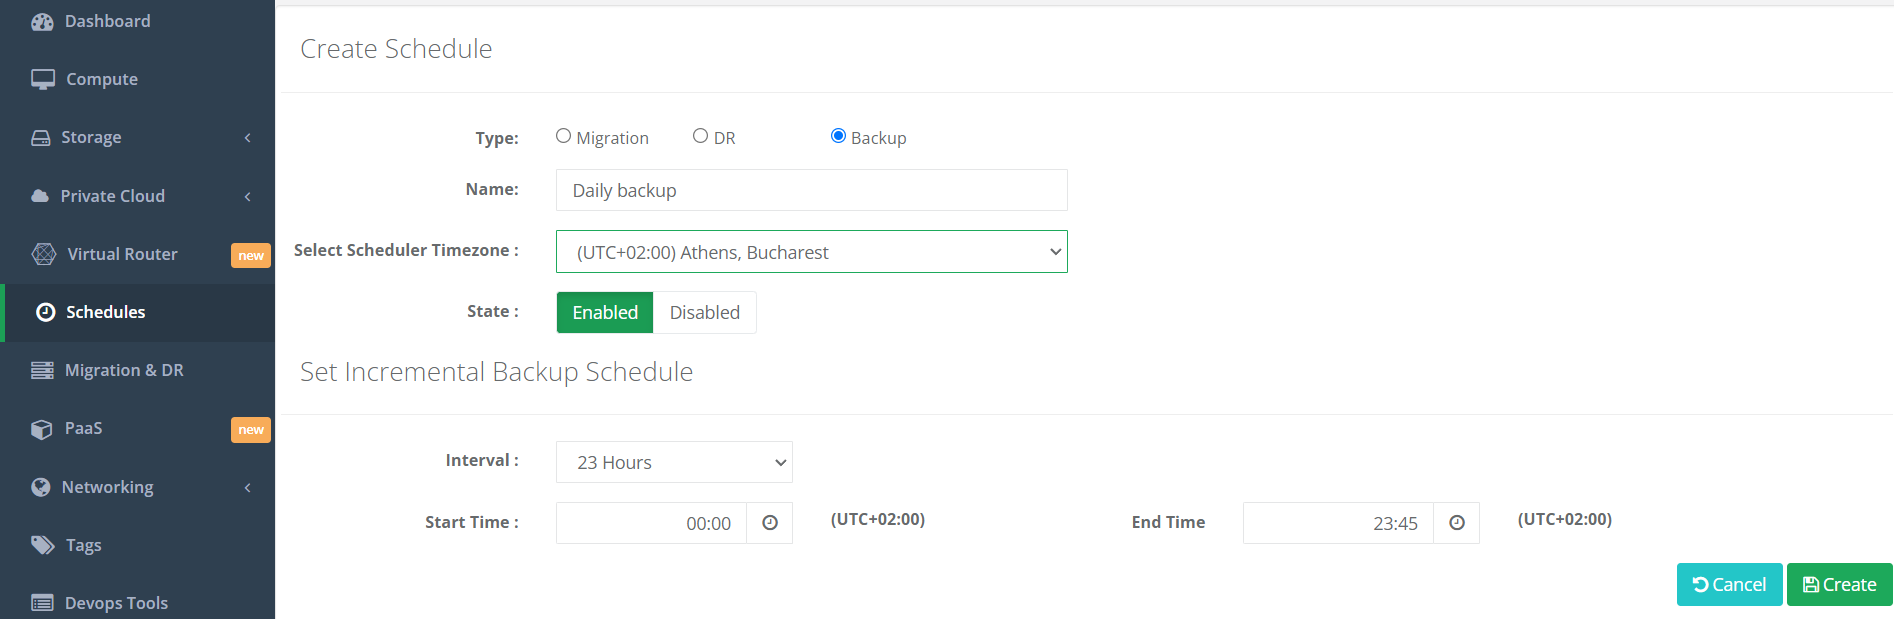
Step 2: Create daily incremental backup
For this example, we will to create a daily incremental backup schedule. Set the type to ‘backup’ and give it a name. In this case, we will call it “Daily backup”. Select the scheduler timezone. Set the state to ‘enabled’. Set the interval to 23 hours and click ‘Create’.
Step 3: Assign Schedule
Navigate to the VM and the drive you wish the scheduled backup to apply to. Click on the Assign Schedule dropdown button and select the appropriate backup. Click ‘save’.