
This tutorial focuses on creating and editing custom servers. It’s important to note, that whether you create a server using the Wizard (as shown in the previous tutorial), or create a custom server from scratch, you can go back and edit that VM at any stage.
STEP 1: Create a custom server
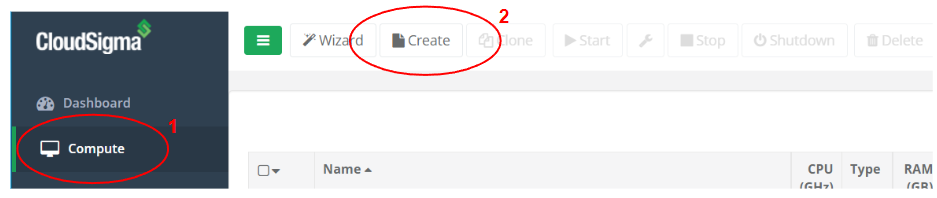
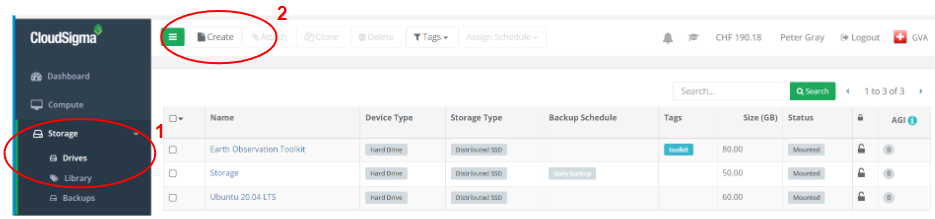
To create your custom server select ‘Compute’ from the menu bar, and then click on the ‘Create’ button as indicated below.
Step 2: Editing the basic parameters in the Properties tab
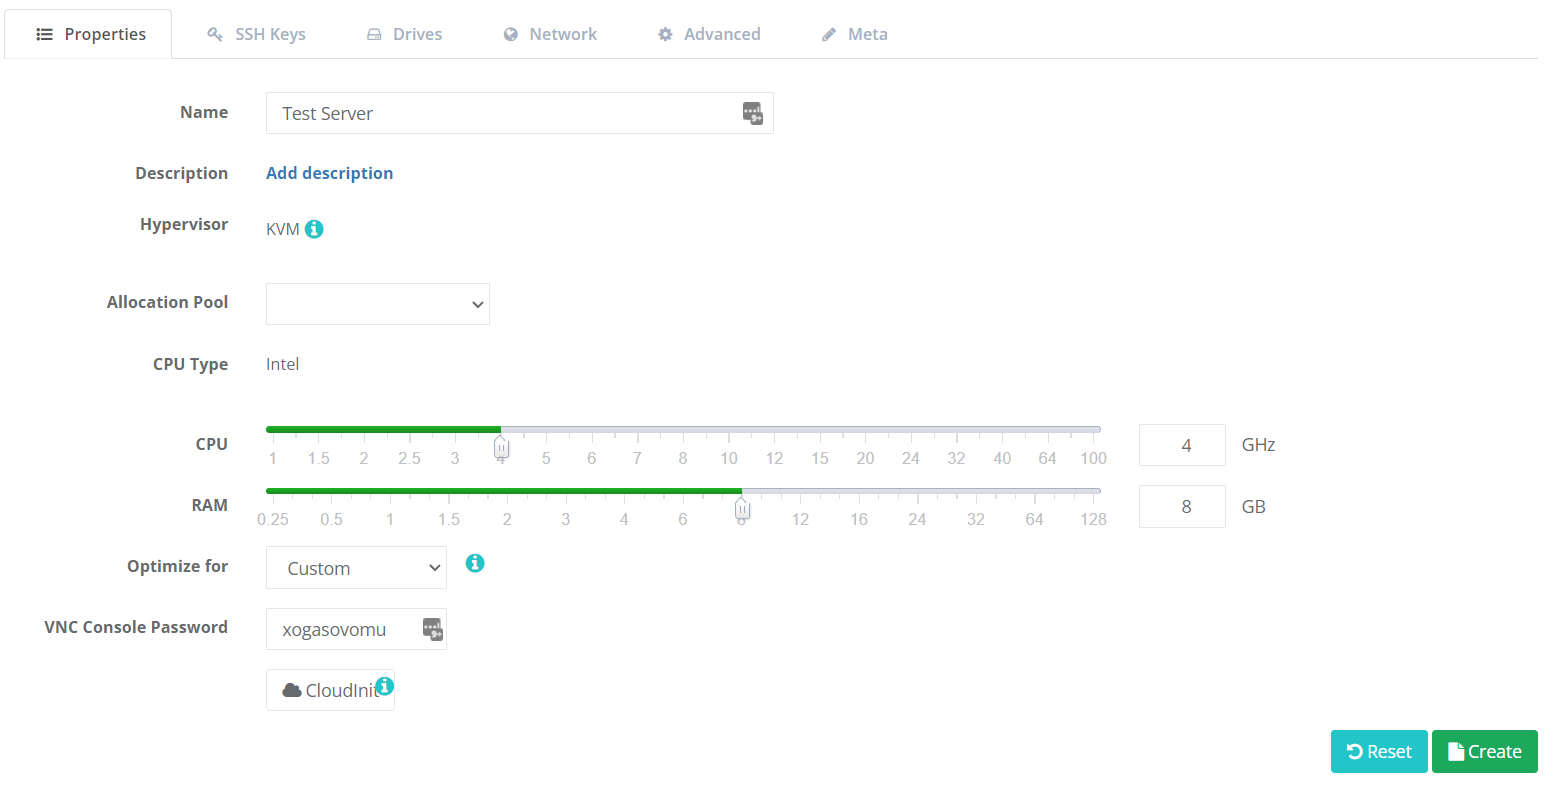
You can now name the server and give it a description. Then you can use the sliders to change the size of the server or type the values into the field.
You can also select an allocation pool, which allows you to assign VMs to multiple shared or dedicated zones.
Note: A full framework of managed private environments are available. If a customer purchases a Virtual Private Cloud then they will be able to choose from a dedicated resource pool.
Next, you can optimise your VM to a particular operating system (Linux, BSD, Windows). This option automatically adjust all settings in the Advanced section for the optimal performance of this server.
Click ‘save’.
Step 3: The Drives Tab
Under the ‘Drives’ tab, you have the option to attach drives to the VM, clone existing drives and delete drives. You can rearrange the order of the drives with a boot drive at the top of the list and any number of storage drives under that.
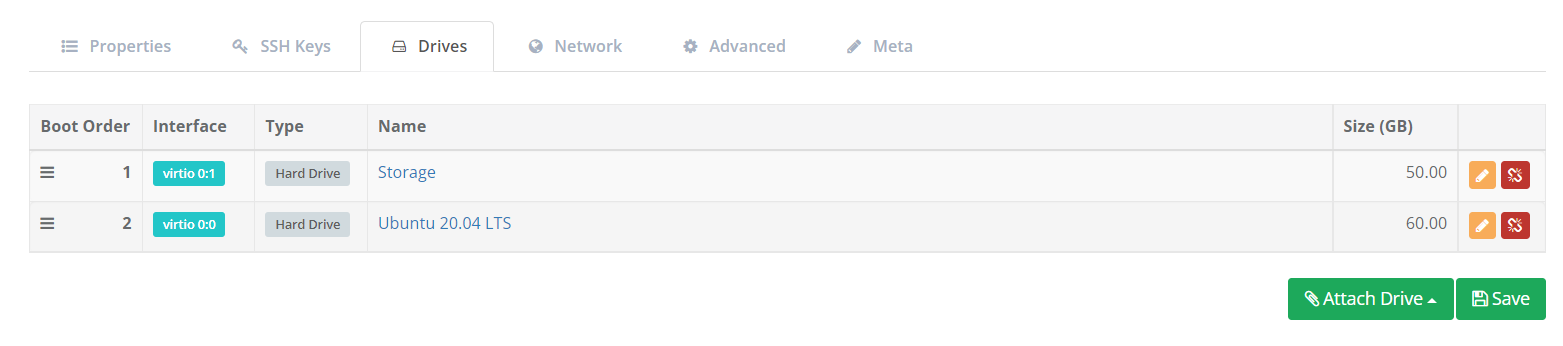
Clicking on a drive will allow you to edit the drive. You can rename and change the size of the drive, view the servers the drive is mounted and view the install notes, view and create new snapshots and backups, and create meta tags.
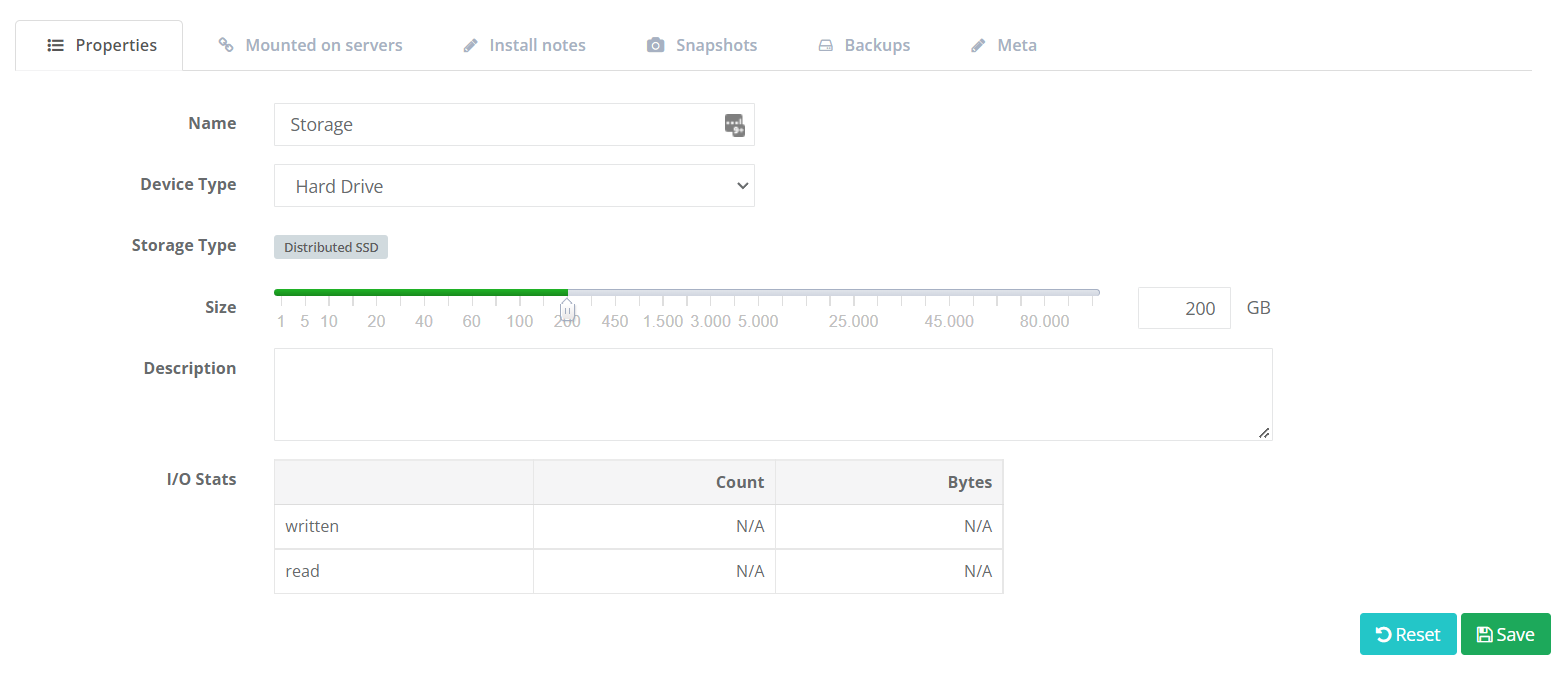
Also you can navigate to the ‘Storage’ section and create and configure a new drive, or select a drive from ‘My Drives’ or the main drives library. When creating a new drive you can select the drive type (SSD, Magnetic) as you you prefer.
Step 4: The Network Tab
Under the ‘Network’ tab you can connect to public IPs and to private networks. Private networks and be purchased from here, or edited to select the preferred network card model.

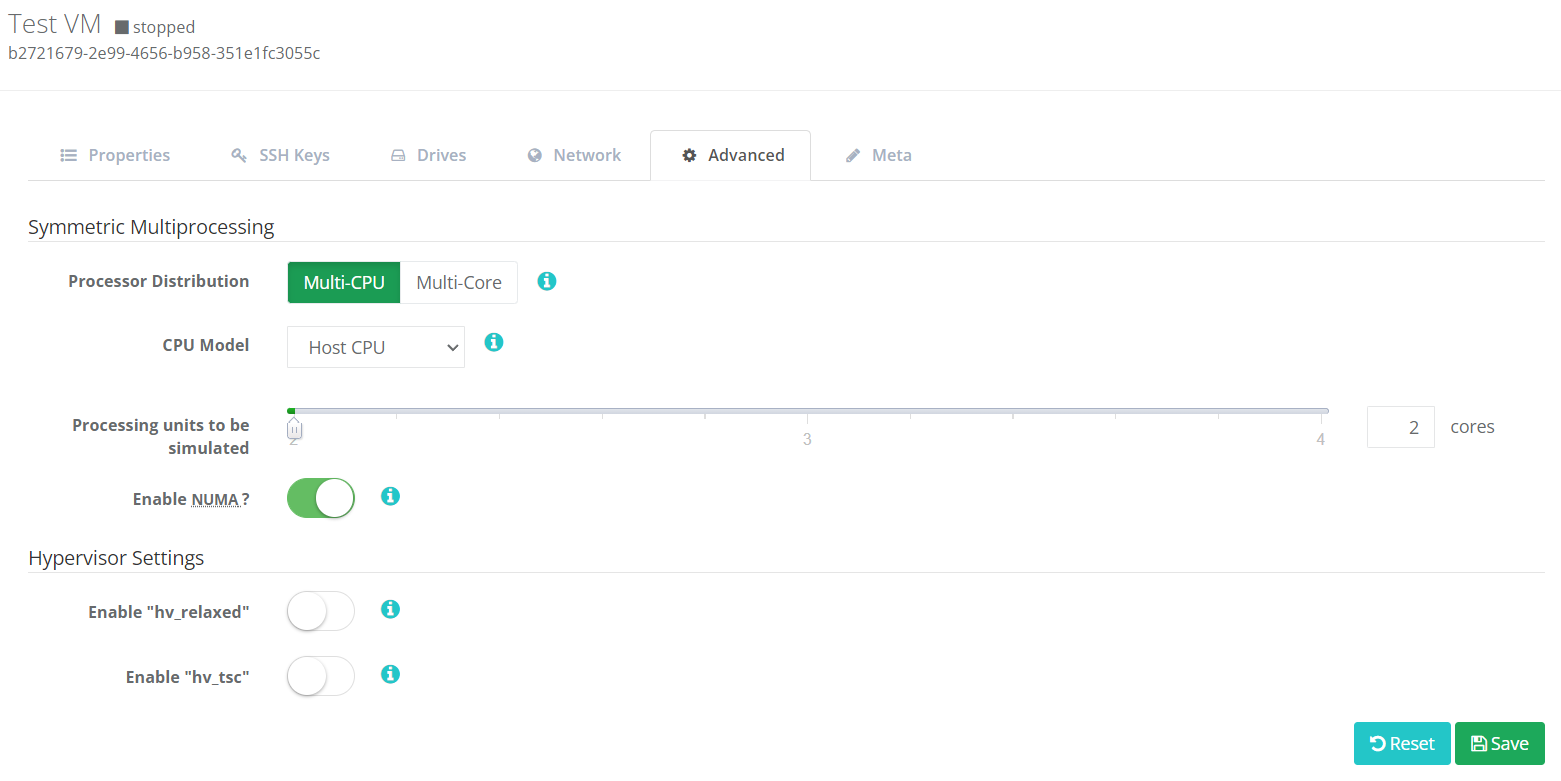
Step 5: The Advanced Tab
Finally, customers can adjust the advanced settings of the virtual machine to optimise performance in relation to the specific application requirements that they have.
You can select between a Multi-CPU and Multi-Core processor distribution. It is recommended to set this to Multi-Core with Windows (due to licensing requirements for Multi-CPUs) and to Multi-CPU for Linux distributions using NUMA (see below).
Next, you can choose the virtual CPU model for mitigating compatibility issues between the guest operating system and the underlying hosts CPU. By default, all of the hypervisor`s CPU capabilities are passed directly to the virtual machine.
It’s important to note at this point that CPU resource size is defined by total Ghz not cores.
Next, you can adjust the size of each virtual core subject to a minimum and maximum size of 1Ghz minimum and 3.1Ghz maximum per core.
For workloads benefiting from parallel processing, choosing a higher number of cores can result in higher throughput. Conversely for workloads limited by per core processing speed, choosing a smaller number of larger virtual cores will maximise performance.
Next, you can turn on Non-Uniform Memory Access (NUMA) to optimise memory access performance. It’s recommended to enable NUMA for servers with more than six processing units. If it is enabled for Linux distributions, it is recommended to use a Multi-CPU distribution.
Next, you can edit the hypervisor setting. “hv_relaxed” is a hypervisor setting for enabling relaxed timing for the CPU. This is recommended for Windows, as it increases performance considerably. However, for Linux distributions, this should be disabled. “hv_tsc” is a hypervisor setting for enabling the Time Stamp Counter to be passed through from the host to the server. This is also recommended for Windows, as it considerably increases performance. Again, for Linux distributions, this should be disabled.
Once you’ve finished configuring your server, you can click safe and start the server.

