
Access Control Lists are used to share computing resources with others and to define the permissions associated with those resources.
Examples of delegated permissions may include:
- Provide the accounting department with access to billing, but not with the ability to edit any server/networking resources.
- Give junior sysadmins access to start/stop servers, but not with the ability to create or delete anything.
- Provide senior sysadmins access to fully manage the architecture, but not to access billing.
- Provide the operations team with access to ffirewall policies and networking, but not to servers.
- Provide a team with full access to their servers (using server tagging), but not to any of the other resources.
Setting up ACLs is very easy. The system administrator (account holder), simply defines what resources they would like to share and with whom they would like to share them. Then it’s simply a matter of creating the permissions per resource / per user to define the actions they can take against those resources.
In this tutorial we look at the steps required to create ACLs.
Note: ACLs can be edited and updated at any time. They are also easy to keep track of as all shared resources are marked with an icon that displays the ACL and the associated permissions. Changes are live and take immediate effect.
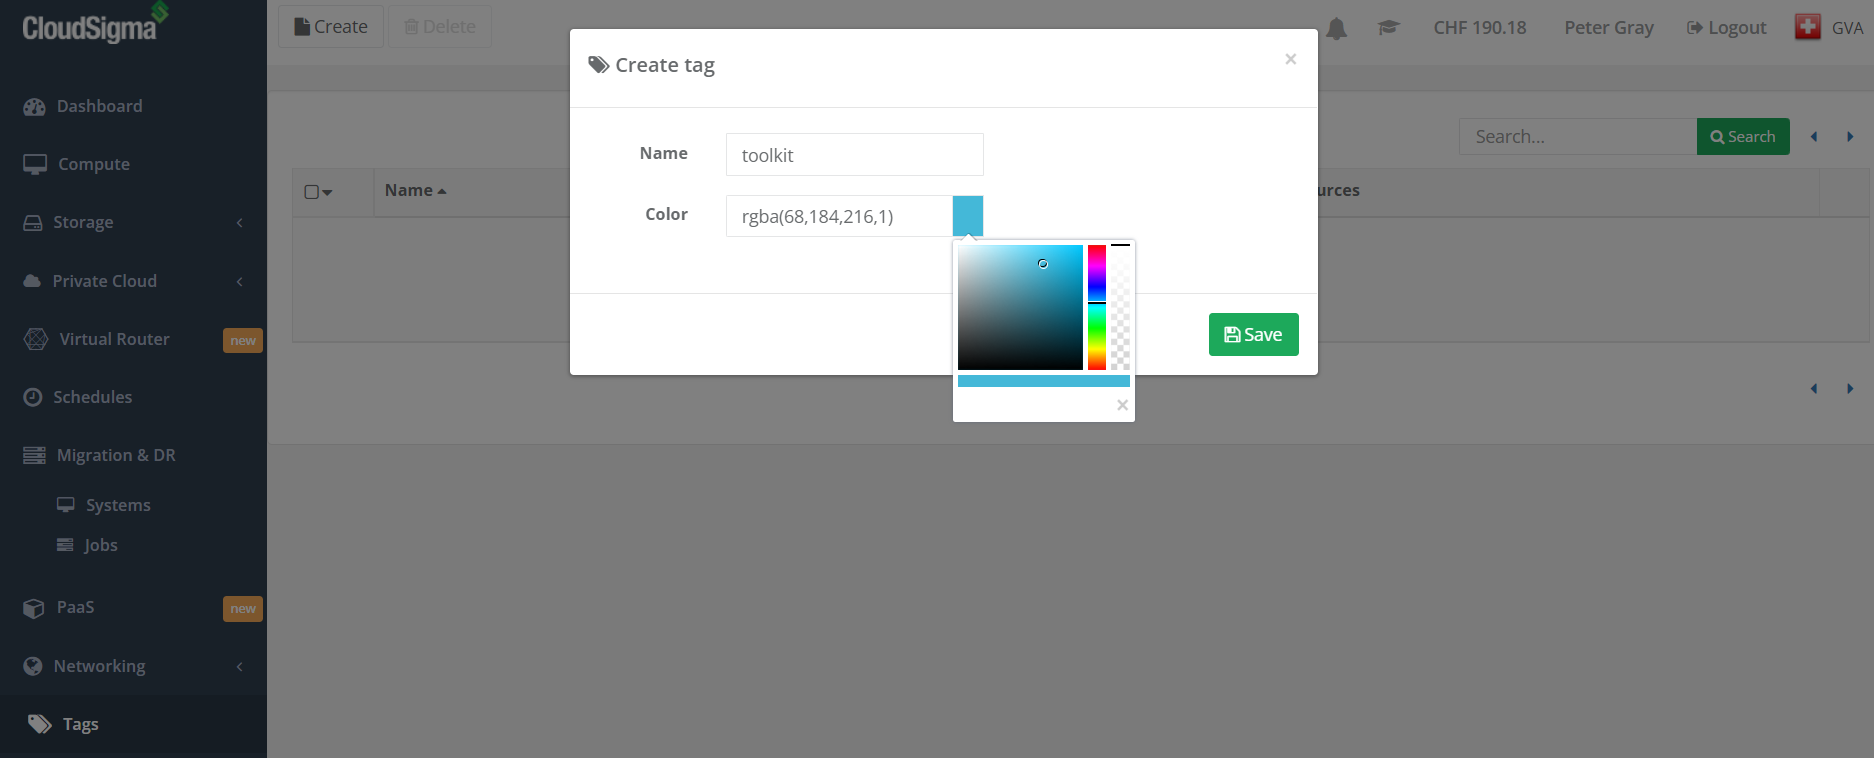
Step 1: Creating a tag
In the User Interface select the ‘tag’ section from the navigation panel on the left. Click ‘create’ to create your tag. Give it a name. Give it a colour for easy identification and click ‘Save’.
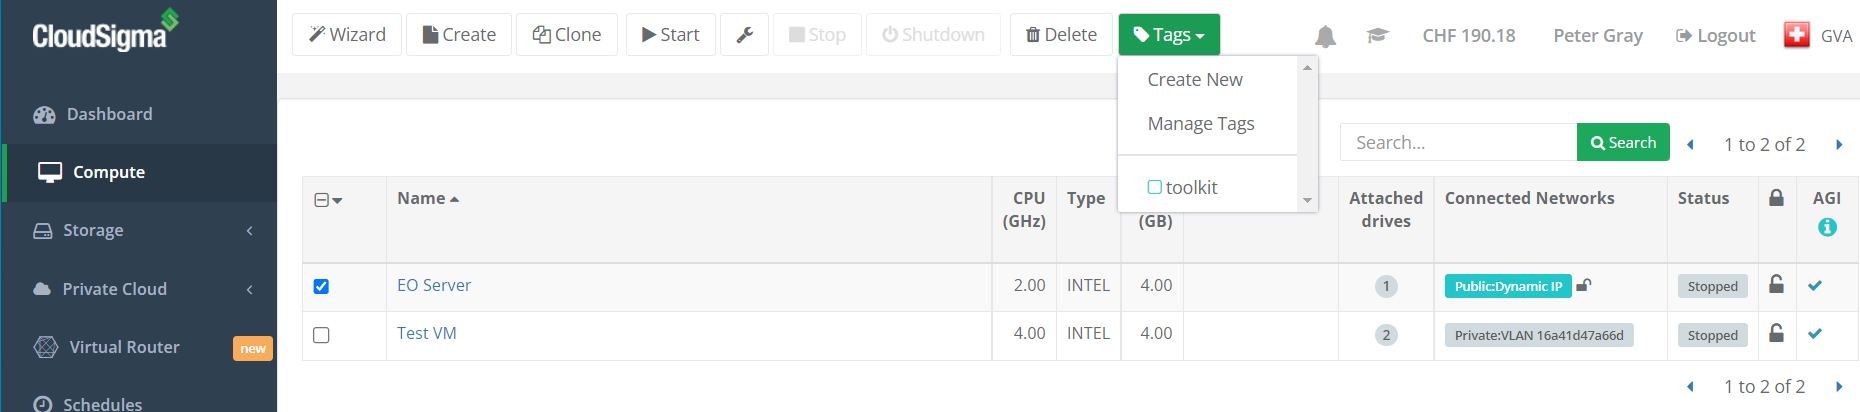
Step 2. Assigning resources
To assign a tag to resources, navigate to the ‘Compute’ section and select resources you wish to share. Once selected, click on the ‘tags’ tab and select the tag you created earlier.
Note, it is also possible to create a new tag from within the resource page.
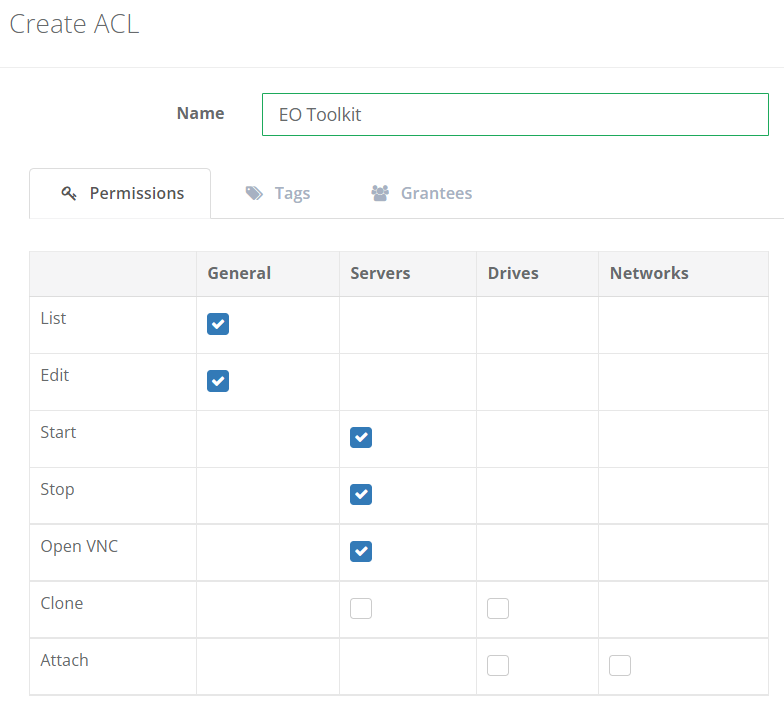
Step 3: Create Access Control List
Navigate to the ‘ACLs’ section. Click ‘Create’ to create a new ACL. Give it a name. Then, under the ‘Permissions’ tab you can select what level of permissions you want to allow.
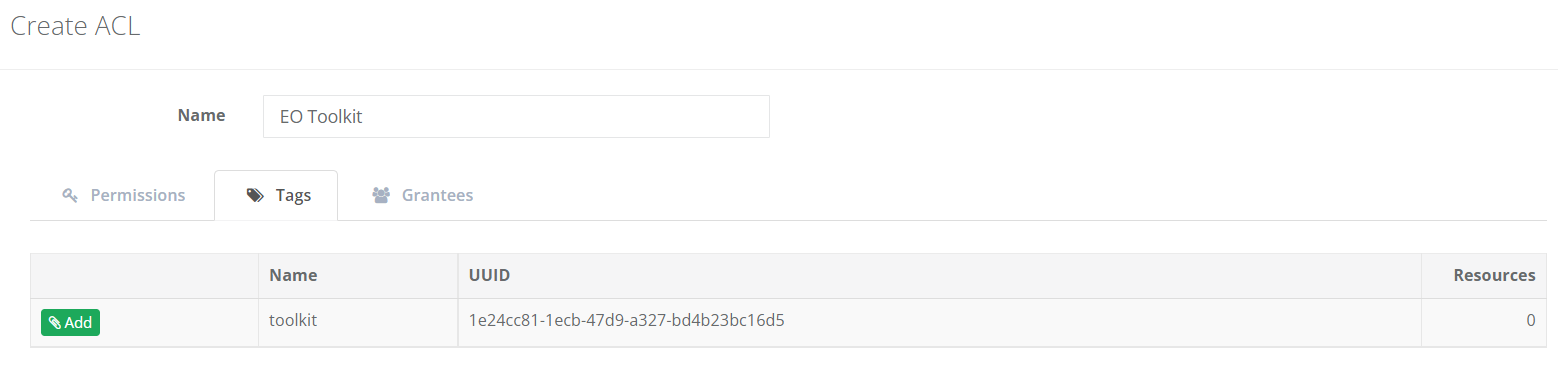
Next, you will click the ‘tags’ tab and select the tag you would like the permissions to apply to.
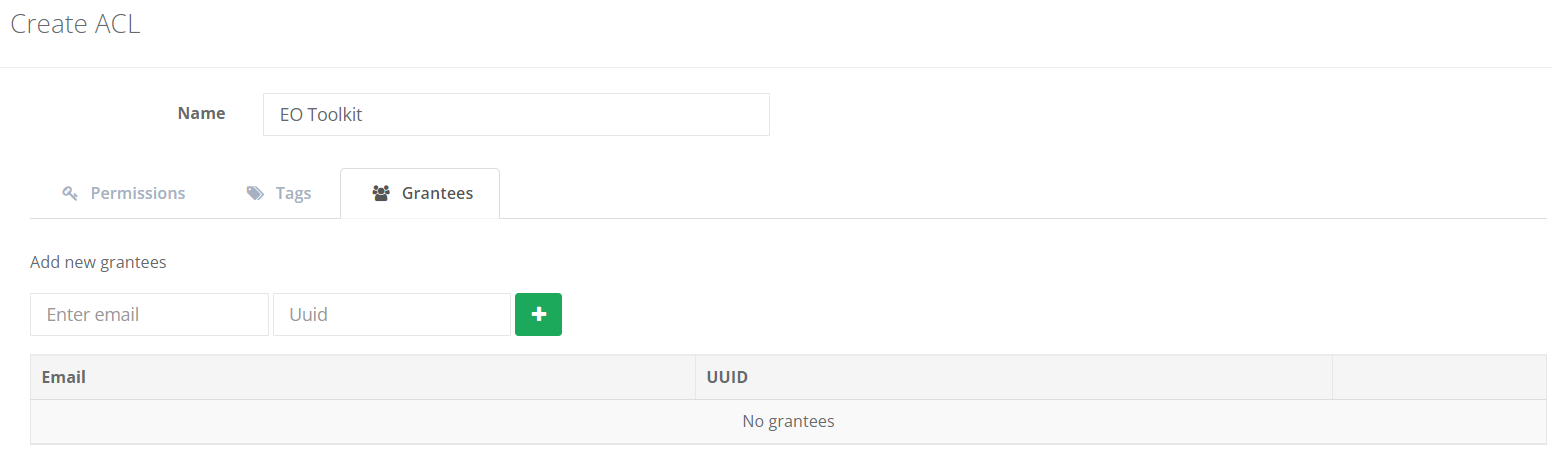
Finally, click on ‘Grantees’ to add the people you want to have access. To do this simply add their email address and UUID and then add it to the policy. Then save the ACL.
The resources will immediately show up in the recipient’s account and they’ll be able to see what permissions they’ve been given.

Note: You can add as many people as you like and remove people from the list at any time.

